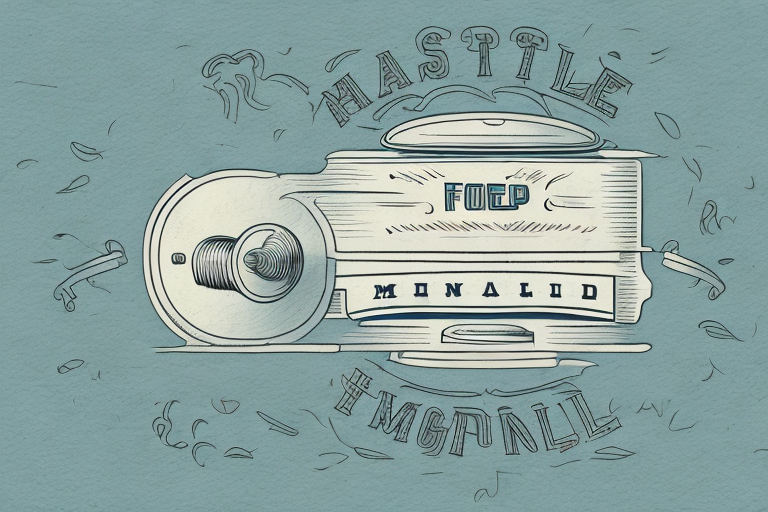
Do you have a vintage or antique food mill that has seen better days? Are you interested in using the tool for your cooking but don’t know where to start with restoration? Fear not, with a little bit of patience and elbow grease, you can restore your classic food mill and start using it in your kitchen in no time. In this article, we will cover everything you need to know about restoring a classic food mill, from why you should do it to where to find one to restore. Let’s dive in!
Why restore a classic food mill?
Classic food mills are a staple tool in cooking. They are excellent for creating purees, sauces, and jams of all kinds, as they can effortlessly remove skins and seeds from fruits and vegetables. However, vintage or antique food mills may not have been used or cared for in a long time, meaning they may not work correctly. Restoring a classic food mill is not only great for functionality but also for preserving a piece of culinary history and passing it down for generations to come.
Additionally, restoring a classic food mill can also be a fun and rewarding DIY project. It allows you to learn about the inner workings of the tool and gain a sense of satisfaction from bringing it back to life. You can also customize the restoration process to your liking, whether it be polishing the metal parts to a shine or repainting the wooden handle to match your kitchen decor. Overall, restoring a classic food mill is a great way to combine your love for cooking and DIY projects while preserving a piece of culinary history.
What are the benefits of using a classic food mill in cooking?
Using a food mill in cooking comes with many benefits. The tool works without electricity, meaning you have greater control over the texture of the end product. It is also effortless to clean and store compared to other kitchen gadgets. A food mill can save you time in food preparation, allowing you to create large batches of purees, sauces, or soups with minimal effort. It is also an excellent tool to use when canning or preserving fruits and vegetables.
Another benefit of using a classic food mill in cooking is that it can help you achieve a smoother and more consistent texture in your dishes. Unlike a blender or food processor, a food mill doesn’t aerate the food, which can cause it to become frothy or lose its original texture. This makes it an ideal tool for making mashed potatoes, tomato sauce, or baby food. Additionally, a food mill can remove seeds, skins, and other unwanted parts of fruits and vegetables, resulting in a cleaner and more refined end product.
Overview of the tools and materials needed for restoring a classic food mill
Before you begin restoring your classic food mill, you will need a few tools and materials. The following is a list of things you will need:
- Screwdrivers: flathead and Phillips
- Pliers
- Steel wool pads
- Cotton swabs
- White vinegar or other mild food-grade cleaner
- Mineral oil or food-grade lubricant
Once you have gathered all the necessary tools and materials, it’s important to take a close look at your classic food mill to assess the extent of the restoration needed. This will help you determine the amount of time and effort required to complete the restoration process.
It’s also important to note that some classic food mills may require additional specialized tools or materials depending on their age and condition. If you are unsure about what tools or materials you may need, it’s always a good idea to consult with a professional or experienced restorer.
Step-by-step guide to disassembling a classic food mill
The first step in restoring your classic food mill is to disassemble it. Here is a step-by-step guide to do so:
- Lay out a clean workspace with enough room to work on the food mill.
- Remove the screws that hold the food mill together using a screwdriver.
- Separate and remove all the individual parts of the food mill.
- If the food mill has any rust or old food stuck to the parts, use steel wool pads and cotton swabs to clean them.
- Soak the parts in white vinegar or another mild food-grade cleaner to soften any old food that may remain.
- Rinse the parts thoroughly with water and dry them with a clean towel or allow them to air dry.
It is important to note that not all food mills are the same, and some may have additional parts or require different disassembly steps. It is recommended to consult the manufacturer’s instructions or a professional if you are unsure about how to disassemble your specific food mill.
Cleaning and sanitizing tips for a classic food mill
Cleaning and sanitizing your classic food mill parts is crucial to ensure safe and hygienic food preparation. Here are some helpful tips:
- Always make sure to clean and sanitize your food mill before and after each use.
- Never use abrasive or harsh cleaners, as they can damage the surface of the tool.
- Soak the parts in a mild solution of water and white vinegar to sanitize them.
- Dry the parts thoroughly before storing them away.
It is also important to note that some food mills have removable parts that are dishwasher safe. Check the manufacturer’s instructions to see if this is the case for your specific model. If so, using the dishwasher can be a convenient and effective way to clean and sanitize your food mill parts. However, always double-check that the parts are completely dry before storing them away to prevent any potential rust or damage.
How to restore the blades of a classic food mill
The blades of a classic food mill are integral to its functionality. Here’s how to restore rusty or damaged blades:
- Using steel wool pads, gently rub away any rust or damage on the blades.
- If the blades are dull or not sharp enough, you may need to sharpen them with a sharpening stone.
- Coat the blades with mineral oil or a food-grade lubricant to protect them and prevent future rusting.
It’s important to note that not all food mills are created equal. Some may have blades that are not removable or replaceable, making restoration difficult or impossible. Before attempting to restore the blades of your food mill, make sure to check the manufacturer’s instructions or do some research to ensure that it is possible and safe to do so.
How to fix or replace the handle of a classic food mill
If the handle of your classic food mill is damaged or missing, there is still hope. Here’s how to fix or replace it:
- Remove the old handle using pliers or a screwdriver, but do so gently to avoid damaging the food mill’s body.
- If you have the old handle, you can attempt to repair it by gluing or screwing it back together.
- If the old handle is beyond repair, look for a replacement handle that matches the size and style of your food mill.
- Attach the new handle to the food mill body carefully, ensuring that it is firmly secured.
It is important to note that not all food mills have the same type of handle. Some may have a crank handle, while others may have a knob or lever. Make sure to identify the type of handle your food mill has before attempting to fix or replace it.
If you are unable to find a replacement handle that matches your food mill, you may need to consider getting a custom handle made. This can be done by a professional woodworker or metalworker, depending on the material of your food mill and the type of handle needed.
Reassembling the restored classic food mill
Now that you have cleaned and repaired the individual parts of your classic food mill, it’s time to put it back together. Here’s how to do it:
- Refer to the owner’s manual or online tutorial for specific instructions on how to reassemble your food mill.
- Carefully line up the individual parts, making sure they fit together correctly.
- Screw the parts back together using the appropriate screwdriver.
- Tighten all screws securely, but do not over-tighten as this can damage the parts of the food mill.
Testing and adjusting the restored classic food mill for optimal use
Before using your restored classic food mill in a recipe, it’s essential to test and adjust it for optimal use. Here’s how to do it:
- Place the food mill over a bowl or pot that will catch the food that comes out of it.
- Fill the food mill with the food you wish to process.
- Turn the handle and adjust the settings on the mill to achieve the desired texture of the food.
- Test the food mill with different foods to ensure that it is working correctly and consistently.
Tips for maintaining a restored classic food mill
To ensure that your restored classic food mill lasts for years to come, there are some essential maintenance tips to keep in mind:
- Always clean and sanitize your food mill before and after each use.
- Store your food mill in a dry and cool place to prevent rusting or corrosion.
- Oil the food mill occasionally to keep it lubricated and rust-free.
- Avoid using abrasive or harsh cleaners that can damage the surface of the food mill.
Unique recipes to try with your restored classic food mill
Now that you have a fully restored classic food mill, it’s time to put it to use. Here are some unique recipes to try:
- Homemade tomato sauce
- Roasted red pepper puree
- Cherry jam
- Apple butter
- Carrot soup
Where to find and purchase vintage or antique food mills for restoration
If you don’t have a classic food mill to restore, don’t worry. There are many places to find and purchase vintage or antique food mills. Check online marketplaces such as Etsy or eBay, or visit antique stores or flea markets in your area. Just be sure to inspect the food mill carefully for any damage or missing parts before purchasing.
Frequently asked questions about restoring a classic food mill
Here are some frequently asked questions about restoring a classic food mill:
- How much does it cost to restore a classic food mill? Restoration costs can vary depending on the condition of the food mill and the extent of the restoration needed. Expect to spend around $20-50 on materials like steel wool, lubricant, and replacement parts, if necessary.
- Can any food mill be restored? While most food mills can be restored, some older models may have missing parts or damage that cannot be repaired. Always inspect the food mill before beginning the restoration process.
- Do I need any special skills to restore a classic food mill? Restoring a classic food mill requires some patience and attention to detail, but it doesn’t require any specialized skills. Follow the instructions carefully, and take your time.
Conclusion and final thoughts on restoring and using a classic food mill in your cooking routine
Restoring a classic food mill not only enhances its functionality but also preserves a piece of culinary history. With a little bit of effort, you can restore your vintage or antique food mill and start using it in your kitchen. Remember to clean and sanitize the food mill regularly, store it correctly, and oil it occasionally to keep it in excellent working condition. Using a food mill in cooking can save you time, and it allows you to achieve an excellent texture in your purees, sauces, or soups. Experiment with different recipes and enjoy the benefits of your restored classic food mill!