Popcorn is a delicious treat that has been enjoyed for generations. For those who love a retro touch in their kitchen, a vintage popcorn maker can make your snack time much more fun. However, restoring such a machine can be a daunting task, especially if you’re not familiar with its inner workings. In this article, we’ll guide you through the restoration process of a retro popcorn maker, step by step.
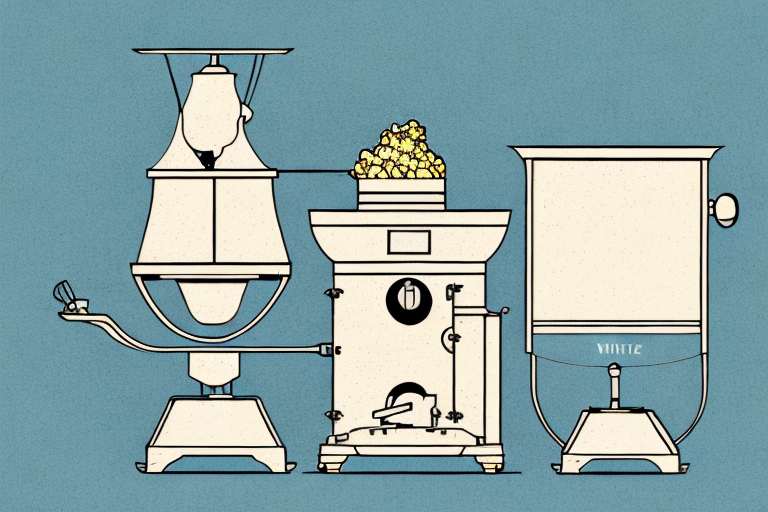
The history of popcorn makers: Understanding your retro model
Before diving into the restoration process, it’s essential to understand a bit about the history of popcorn makers and how they work. Popcorn machines were first invented in the early 1900s, and they quickly became popular in movie theaters and fairs. The machines used steam to cook the popcorn, and the oil was added separately. Different varieties of popcorn makers were then invented, including stovetop models and electric machines.
If you’re looking to restore a retro model, understanding its history can help you identify its design features and their functionality. It can also help you locate the original manufacturer and obtain replacement parts.
One interesting fact about popcorn makers is that they were initially marketed as a healthy snack option. In the 1920s, popcorn was advertised as a low-fat, high-fiber snack that could aid in digestion. However, this marketing strategy changed in the 1930s when movie theaters began to add butter and salt to their popcorn, making it a more indulgent treat. Today, popcorn is still a popular snack, and retro popcorn makers are highly sought after by collectors and enthusiasts.
Tools and materials needed for restoring your popcorn maker
Before restoring your retro popcorn maker, you’ll need to gather some essential tools and materials. These include a screwdriver, pliers, sandpaper, cleaning supplies, replacement parts, and paint or a coating. Make sure to choose tools and materials that are safe for use, especially since you’ll be dealing with electrical components.
In addition to the basic tools and materials, you may also need a multimeter to test the electrical components of your popcorn maker. This will help you identify any faulty parts that need to be replaced. It’s also a good idea to have a manual or guide for your specific popcorn maker model, as this will provide you with detailed instructions on how to disassemble and reassemble the machine.
Safety precautions before starting the restoration process
Before starting the restoration process, ensure that you take the necessary safety precautions. Make sure you’ve unplugged the machine and let it cool down before starting the restoration process. You should also use protective gear such as gloves and safety goggles to avoid injury while handling parts that may be sharp or hot.
Another important safety precaution to take before starting the restoration process is to ensure that the work area is well-ventilated. This is especially important if you’ll be using any chemicals or solvents during the restoration process. Proper ventilation will help to prevent the buildup of fumes that could be harmful to your health.
It’s also a good idea to have a fire extinguisher nearby, just in case. While it’s unlikely that a fire will start during the restoration process, accidents can happen. Having a fire extinguisher on hand will give you peace of mind and ensure that you’re prepared for any emergency situation that may arise.
Cleaning and disassembling your retro popcorn maker
Firstly, take apart your retro popcorn maker component by component. Make sure to document the disassembly process to make it easier for you when it comes to reassembling it later. At this point, you can clean any removable parts by soaking them in warm water with a mild cleaning agent. For the non-removable parts, use a scrub brush and cleaning agent to get rid of any dirt and grime that has accumulated over the years.
It is important to note that before cleaning your retro popcorn maker, you should unplug it and let it cool down completely. Once you have finished cleaning all the parts, make sure to dry them thoroughly before reassembling the machine. Additionally, it is recommended to lubricate any moving parts with a food-grade lubricant to ensure smooth operation. By following these steps, you can ensure that your retro popcorn maker stays in good condition and continues to make delicious popcorn for years to come.
Identifying damaged or missing parts of the popcorn maker
Once you’ve disassembled and cleaned all the parts, inspect them with a keen eye to identify any parts that are damaged, corroded, or missing. During this step, you should also check the wiring and rubber seals for any wear and tear. This will help you draw up a list of replacement parts that you may need.
It’s important to note that some parts may not be visibly damaged, but may still be malfunctioning. For example, the heating element may be faulty even if it appears to be in good condition. In such cases, it’s best to consult the manufacturer’s manual or seek professional help to diagnose the issue. Additionally, if you notice any loose screws or bolts during the inspection, make sure to tighten them to ensure the popcorn maker is safe to use.
Sourcing replacement parts for your retro popcorn maker
Since your retro popcorn maker is likely to be an older model, it might be challenging to find replacement parts at your local store. However, you can source parts online from online retailers or specialty stores. Make sure to check that any parts you purchase are compatible with your specific model to avoid compatibility issues during reassembly.
Another option for sourcing replacement parts for your retro popcorn maker is to check with the manufacturer. Some manufacturers may still carry replacement parts for older models, or they may be able to recommend a reputable retailer that specializes in retro appliances. Additionally, you can try reaching out to online forums or social media groups dedicated to vintage appliances, as other enthusiasts may have tips or recommendations for finding the parts you need.
Tips for repairing damaged parts of the popcorn maker
If you come across any damaged parts that can be repaired, there are several techniques you can use. For instance, you can replace worn-out wiring, use rust remover to get rid of any corrosion, or sandpaper the surface and paint it with a coating. You can also use epoxies to fill any cracks or shards in ceramic parts.
Another technique you can use to repair damaged parts of the popcorn maker is to replace any broken or worn-out screws or bolts. This can help to ensure that the parts are securely fastened and will not come loose during use. Additionally, you can use a heat gun to soften and reshape any plastic parts that have become warped or misshapen over time.
It is important to note that not all damaged parts can be repaired and some may need to be replaced entirely. If you are unsure about how to repair a specific part or if it is safe to do so, it is best to consult a professional or the manufacturer’s instructions for guidance.
Reassembling the restored retro popcorn maker
After you’ve purchased and repaired all the necessary parts, you can begin the reassembly process. Before reassembling, make sure that the parts are dry and free of any pathogens or debris. Consult your documentation and guides to make sure you put everything back in the right place. You can use your camera or a smartphone to take pictures of the reassembly process to serve as a reference in the future.
Once you have all the parts in place, it’s important to test the machine before using it. Plug it in and turn it on to make sure everything is working properly. If you notice any issues, double-check the assembly and consult your documentation to troubleshoot the problem.
After testing, it’s time to clean the machine thoroughly. Use warm, soapy water to clean all the parts, including the interior and exterior of the machine. Make sure to dry everything completely before storing it away. You can also apply a protective coating to the exterior to prevent rust or other damage.
Testing the restored retro popcorn maker
Once you’ve completed the restoration and reassembly process, you can plug in your retro popcorn maker and test it out. Make sure to test the heating element, ventilation system, and any other electrical points for functionality. Ensure that the machine works correctly before using it for popcorn preparation.
It’s important to note that the first time you use your restored retro popcorn maker, it may emit a slight burning smell. This is normal and should dissipate after a few minutes of use. If the smell persists or becomes stronger, turn off the machine immediately and unplug it. Check for any loose wires or other issues that may be causing the problem.
Additionally, it’s a good idea to clean your retro popcorn maker after each use. Wipe down the interior and exterior with a damp cloth and mild soap. Avoid using abrasive cleaners or scrubbers that may damage the machine’s finish. Proper maintenance and cleaning will help ensure that your retro popcorn maker lasts for many years to come.
How to properly season your retro popcorn maker before use
After you’ve determined that the machine works correctly, it’s essential to season it before use. This involves running the machine with oil inside without any popcorn to eliminate any dirt and debris that might still be present, and provide some flavor to your popcorn. To do this, heat up your machine and add one tablespoon of oil. Wait for a few minutes and then turn the machine off. Once it cools down, wipe the interior with a paper towel.
It’s important to note that you should only use vegetable or canola oil to season your popcorn maker. Avoid using butter or other types of oil, as they can burn and leave a residue on the machine. Additionally, it’s recommended to season your popcorn maker every few uses to maintain its quality and prolong its lifespan. By following these simple steps, you can ensure that your retro popcorn maker produces delicious, perfectly seasoned popcorn every time.
Delicious recipes to try with your newly restored retro popcorn maker
Now that you have a fully restored retro popcorn maker, it’s time to enjoy your favorite recipes. You can try savory or sweet popcorn by using a variety of seasonings and toppings, such as grated cheese, garlic powder, paprika, cinnamon, chocolate chips, and honey. Experiment with different combinations to find your perfect recipe.
If you’re feeling adventurous, you can also try making popcorn balls or popcorn clusters. Simply mix melted butter and marshmallows with your popcorn and shape them into balls or clusters. Let them cool and enjoy a fun and tasty treat.
Another great way to enjoy your retro popcorn maker is by hosting a movie night with friends and family. Set up a popcorn bar with different seasonings and toppings, and let everyone create their own unique popcorn creation. It’s a fun and interactive way to enjoy a classic snack.
Maintenance tips to keep your retro popcorn maker in good condition
To keep your retro popcorn maker in excellent condition, you should clean it after every use. Let it cool down then remove any leftover debris and wipe it with a damp cloth. Don’t submerge the machine in water as it can damage the electrical components. You should also keep it in a cool, dry place to prevent any rust or deterioration.
Restoring your retro popcorn maker can be a fun and rewarding project. By following the steps above, you can restore your machine to its original glory and enjoy delicious popcorn snacks for years to come. Remember to take the necessary safety precautions and consult documentation and guides for any help that you may need during the process.