In today’s world of fast-paced technology and instant gratification, it’s easy to forget the satisfaction that comes from using antique appliances. There’s something special about restoring an old-fashioned bread maker and bringing it back to life to create delicious homemade bread. But why restore an old-fashioned bread maker instead of buying a new one? Let’s explore the history of bread makers and their evolution to answer this question.
Why restore an old-fashioned bread maker instead of buying a new one?
Bread has been a staple food for thousands of years, but it wasn’t until the mid-19th century that bread making became mechanized. Bread makers were first introduced in the late 1800s and quickly gained popularity. By the 1920s, almost every household had a bread maker. However, as technology advanced, bread makers evolved and became more complex. Today’s bread makers are often equipped with digital displays, timers, and multiple programming options. While these features may be convenient, they can also be overwhelming and take away from the joy of bread making.
Restoring an old-fashioned bread maker allows you to connect with the simpler times of the past and create bread with your own hands. It also gives you the opportunity to save money and reduce waste by repurposing something that still has great potential.
Another advantage of restoring an old-fashioned bread maker is that it allows you to customize your bread-making experience. With a modern bread maker, you are limited to the pre-programmed options and settings. However, with an old-fashioned bread maker, you have more control over the process and can experiment with different ingredients and techniques to create unique and delicious bread.
Furthermore, restoring an old-fashioned bread maker can be a fun and rewarding DIY project. It allows you to learn about the inner workings of the machine and develop new skills. You can also take pride in the fact that you have restored a piece of history and kept it from ending up in a landfill.
The history of bread makers and their evolution
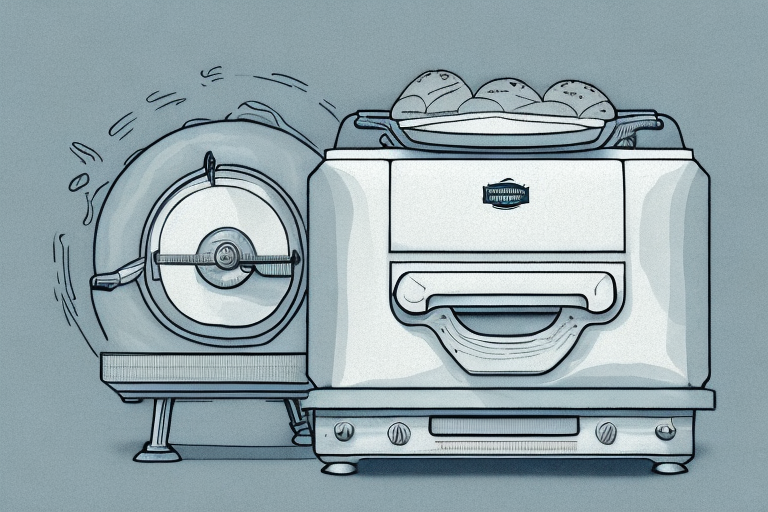
The first bread makers were made of cast iron and were operated manually. The user would have to turn the gears by hand, which could be quite laborious. In the early 1900s, electric bread makers were introduced. They were more convenient to use and allowed for a more efficient bread-making process. Over time, bread makers became more intricate, with more features and functions.
However, some people prefer to use the older-style bread makers for their simplicity and reliability. Restoring an old-fashioned bread maker can be a fun and rewarding project and can produce delicious, homemade bread.
Today, bread makers have become even more advanced with the introduction of smart technology. Some bread makers now come equipped with Wi-Fi connectivity and can be controlled through a mobile app. This allows users to monitor the bread-making process from their phone and make adjustments as needed. Additionally, some bread makers have specialized settings for gluten-free or artisan breads, making it easier for people with dietary restrictions to enjoy homemade bread.
Understanding the working mechanism of an old-fashioned bread maker
Before you begin restoring your bread maker, it’s important to understand how it works. Most old-fashioned bread makers operate by using a paddle or mixing arm to knead the dough. The mixture is then put into a baking tin and placed in the bread maker. Heat is applied, which causes the dough to rise and bake into bread. Some bread makers have one setting, while others have multiple options. Knowing how your bread maker works will help you to identify any issues that need to be addressed during the restoration process.
One important thing to note is that old-fashioned bread makers require a longer baking time compared to modern bread makers. This is because they use lower temperatures to bake the bread, which results in a more evenly baked loaf. Additionally, some bread makers have a timer function that allows you to set the baking time according to your preference.
Another factor to consider when restoring an old-fashioned bread maker is the type of flour you use. Bread makers work best with high-gluten flour, which has a higher protein content and produces a more elastic dough. Using the wrong type of flour can result in a dense and heavy loaf of bread. It’s also important to measure the ingredients accurately, as too much or too little of any ingredient can affect the final outcome of the bread.
Identifying common issues with old-fashioned bread makers and how to fix them
One of the most common issues with old-fashioned bread makers is a worn-out or broken paddle or mixing arm. This can be easily fixed by finding a replacement part or fixing the existing part. Another issue is worn-out or broken wiring, which can be quite dangerous. If you notice any frayed or damaged wiring, it’s important to fix it before using your bread maker.
Other issues may occur with the temperature control or other electrical components. Identifying the issue may require some trial and error, but it’s important to address any issues before using your bread maker. Consulting a professional may be necessary if you’re unsure about how to fix any issues.
Another common issue with old-fashioned bread makers is a malfunctioning timer. This can result in bread that is either undercooked or overcooked. To fix this issue, you may need to replace the timer or adjust the settings on your bread maker. It’s important to test your bread maker after making any adjustments to ensure that the issue has been resolved.
In addition, some bread makers may have issues with the kneading process. If your bread is not rising properly or has a dense texture, it may be due to improper kneading. This can be caused by a worn-out or broken kneading blade. To fix this issue, you may need to replace the blade or adjust the kneading time on your bread maker. It’s important to follow the manufacturer’s instructions when making any adjustments to your bread maker.
The tools and materials you need to restore an old-fashioned bread maker
Restoring an old-fashioned bread maker requires a few essential tools and materials. You’ll need screwdrivers of various sizes to disassemble and reassemble your bread maker. Wire strippers and crimpers will be necessary if you need to rewire any parts. You’ll also need a good set of pliers to help you maneuver parts and screws. Additionally, you’ll need cleaning supplies such as rags, soap, and degreasers. Replacement parts may also be necessary depending on the condition of your bread maker.
Before you begin restoring your bread maker, it’s important to do some research on the specific model you have. This will help you understand how it works and what parts may need to be replaced. You can find manuals and diagrams online or at your local library.
Once you have all the necessary tools and materials, it’s time to get started. Begin by taking apart the bread maker and cleaning each part thoroughly. Check for any signs of damage or wear and tear. If you need to replace any parts, make sure to order them ahead of time so you don’t have to pause your restoration process.
Cleaning and sanitizing an old-fashioned bread maker before restoration
Before you begin restoring your bread maker, it’s important to thoroughly clean and sanitize it. Bread makers can become quite dirty over time, and it’s essential to remove any residue and bacteria before using it to make food. Start by disassembling the bread maker and washing all the parts with soap and water. Use a degreaser to remove any built-up grease or grime. Sanitize the parts by soaking them in a mixture of water and vinegar, or using a sanitizing solution. Once all the parts are clean and dry, you can begin restoring your bread maker.
Disassembling an old-fashioned bread maker for restoration
The first step in restoring your bread maker is to disassemble it. This will allow you to identify any issues that need to be addressed and will make it easier to clean and repair. Start by removing any screws or bolts that hold the bread maker together. Take photos of the bread maker before you disassemble it, so you’ll be able to remember how to put it back together. Keep all the parts in a safe and organized place so that they can be easily reassembled.
Replacing broken or worn-out parts in an old-fashioned bread maker
If you identify any broken or worn-out parts during the disassembly process, it’s essential to replace them. This may require ordering replacement parts, or fixing the existing parts if possible. If you’re unsure how to fix a broken part, consult a professional. It’s important to ensure that all the parts are functioning correctly before reassembling your bread maker.
How to repaint and refinish an old-fashioned bread maker for a fresh look
If you’d like to give your old-fashioned bread maker a fresh look, consider repainting and refinishing it. Start by sanding the surface of the bread maker to remove any peeling paint or rust. Apply a coat of primer to protect the metal and allow it to dry completely. Once the primer is dry, apply a coat of paint in your desired color. Allow the paint to dry completely before applying a coat of clear finish to protect the paint. Your old-fashioned bread maker will look like new once it’s been repainted and refinished.
Tips for reassembling and testing your restored old-fashioned bread maker
Once you’ve replaced any broken parts and cleaned and repainted your bread maker, it’s time to reassemble it. Follow the photos you took during the disassembly process to ensure that everything is in the correct order. Test your bread maker by running it through a bread cycle. Make sure that it’s functioning properly and that there are no issues.
Maintaining your restored old-fashioned bread maker for longevity
To ensure that your restored bread maker lasts for years to come, it’s important to maintain it properly. Clean it thoroughly after each use and store it in a safe place away from moisture. Regularly check all the parts to ensure that they’re functioning correctly and replace any broken or worn-out parts immediately. With proper maintenance, your restored bread maker can last for generations.
Making delicious homemade bread with your restored old-fashioned bread maker
Now that you’ve restored your old-fashioned bread maker, it’s time to put it to use. Making homemade bread is a fun and rewarding experience that can’t be replicated with a modern bread maker. There are endless recipes to try, from simple white bread to artisan sourdough. Experiment with different ingredients and techniques to find the perfect bread recipe for you.
Saving money by restoring an old-fashioned bread maker instead of buying a new one
Restoring an old-fashioned bread maker can save you money in the long run. Buying a new bread maker can be quite expensive, especially if you’re looking for one with all the latest features. By restoring an old-fashioned bread maker, you can create a reliable and efficient bread maker without breaking the bank.
Conclusion: The satisfaction of restoring and using an antique appliance in the modern age
Restoring an old-fashioned bread maker can be a fun and rewarding project that not only saves you money but also allows you to connect with the simpler times of the past. Using an antique appliance in the modern age can bring a sense of nostalgia and satisfaction that can’t be replicated with new technology. By following the steps outlined in this article, you can restore your old-fashioned bread maker and create delicious homemade bread for years to come.